
Broken your iPhone 5 screen? Never fear. Follow these simple steps below to learn how to remove and replace your iPhone screen, and what tools you’ll need for the repair. First, we’ll go through what you need to complete the fix.
What you will need:
- security screwdriver
- suction cup
- spudger (black stick)
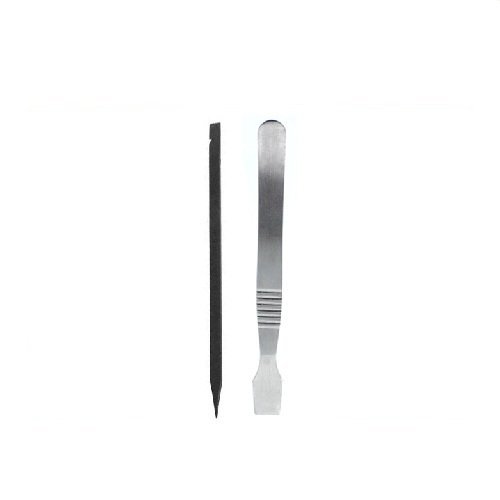
Spudger from Amazon
All of the above can be purchased online at a reasonable price. Once you have these tools, we can get to work!
Method:
- Switch off your iPhone 5
- To start, use your security screwdriver to remove the two screws at the bottom of your iPhone 5 that sit on either side of the dock.
- Now place your suction cup above the Home button and gently pry up from the bottom.
- Take care not to pull the entire screen off as the top of the screen is still attached by several cables. You only want to release the bottom portion.
- Once the screen is free, swing up the display assembly so you can get to the shield that is holding the cables in place
- Use your screwdriver to remove the three screws holding the screen shield down. Set the shield aside and remember not to mix up the screws.
- Now use your spudger (black stick) to pry up the three cables that attach the display to the board.
- After you do so, the display should be free from the device. You can only see two of the cables, and the third is underneath.
- Most of the time the third one simply pops up on its own when you remove the first two. If not, just use your spudger to pry it up. The second photo below shows its location on the board for reference.
- The display should now be free.
Alternative method to remove the screen
If you’re having issues pulling the screen up with a suction cup, you may insert a razor blade on the outer edge of either screw hold and pry upwards slightly.
This method gives you enough clearance to stick your spudger (black stick) tool underneath and release the screen.
This method may be recommended if your hands aren’t as steady or you’re afraid you may pull too hard and damage a cable.
Installation of the new screen
Install the home button:
- Get your new screen out and place the home button screen into it.
- Set the metal home button plate over it and use the Penta lobe and screws you removed earlier to secure it to the new display.
- Make sure the sticker for the home button sticks down.
- Reattach the top connectors. Find the small metal tip of the connector that goes back to the top of the phone. Carefully insert this into its hole before you push in the rest of the connector.
- The camera should sit in its exposed hole if you’ve done this step correctly.
Reattach the earpiece:
- Set the earpiece back in the top right corner of the phone.
- Find the screws that you removed from it and screw them back in so that the earpiece is secured to the phone.
- You should have two screws for the earpiece.
Connect the new screen to the phone:
- You should have three ribbon-like connectors coming off of the new screen. Insert these into the phone near the top.
- Make sure to insert the bottom connector first so that you can easily put on the top connector last.
- Set the metal plate back over the connectors and screw it back in.
- If your phone doesn’t come on once you’ve completely replaced the screen, one of these connectors may not be inserted completely or correctly. If so, remove the screen and check the connectors.
Press the new screen onto the phone:
- Once the screen and phone are loosely connected, lower the screen into place on the phone.
- Firmly press the screen onto the phone from the top to the bottom.
- Screw in the last two screws on the underside of the phone (these are the ones next to the lightning port).
- You can now turn on and use your phone.
- You shouldn’t have any gap between the phone
We have some tutorial videos coming soon, but for now check out the below guide from David Cogen over at New York’s The Unlockr:
Testing the new screen
After you have your iPhone 5 completely put back together, you can turn it on again.
Make sure you test the phone thoroughly by trying a few different actions to ensure the display and small components are functioning correctly, for instance:
- Phone a friend and check that they can hear you and you can hear them to ensure the microphone and ear piece are functioning correctly
- Swipe and tap all over the screen to test screen responsiveness
We hope you found this guide helpful! For more guides and useful information, visit our blog for further iPhone and Apple advice, repairs and help. Of course, you can always
Of course, whilst you can always fix your iPhone screen yourself, it does take time and effort to acquire the tools and complete the fix, so if you don’t have the time to fix it yourself, give us a call! You can always get in touch or bring your phone straight to our workshop, where we will fix your iPhone for you while you wait so you can get on with your day hassle free!
Recent Comments